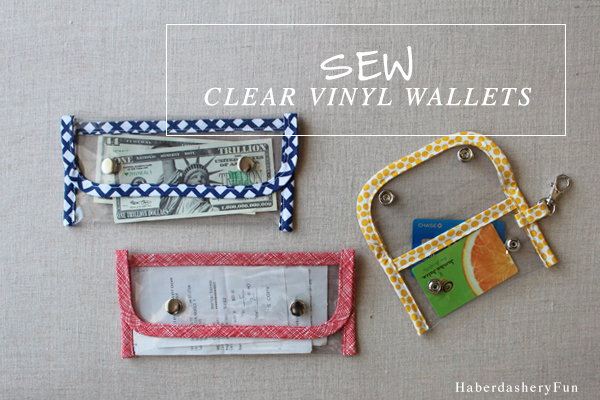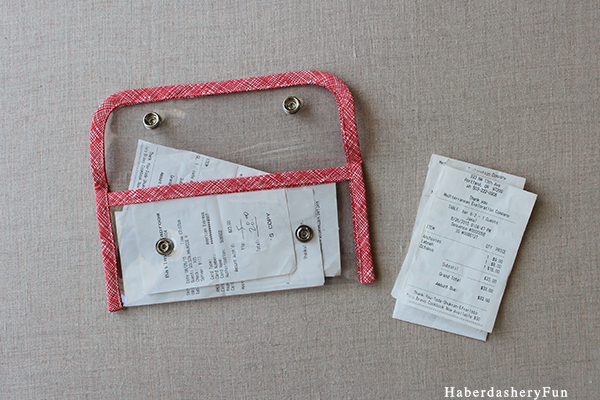
A few months ago my sister-in-law asked if I would make her clear pouches for her business receipts. She accidentally misplaces a few receipts each month and it drives her crazy tracking them down.
An envelope was my inspiration. I added colorful bias tape and 2 brass snaps to make the pouch professional looking… This wallet turned out to be very handy – it’s slim and sleek and doesn’t take up too much bulk in a handbag. I also think it’s super cute.
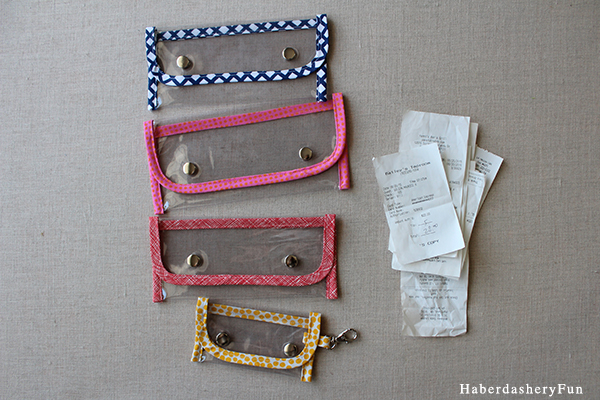
I love how the pouch turned out and ended up making quite a few, including a small one for credit cards. A vinyl wallet is a great beginner sewing project and fairly quick to conquer. Set aside a few hours and you can make a few in one afternoon.
I’ve made many clear pouches over the last few years and will probably be making many more. If you’ve read my blog, you know that I’m a sucker for clear vinyl. Click here for another easy fabric pouch and here for double sided vinyl pouch. To date, the double sided vinyl pouch is one of my most utilized and favorite sewing projects.
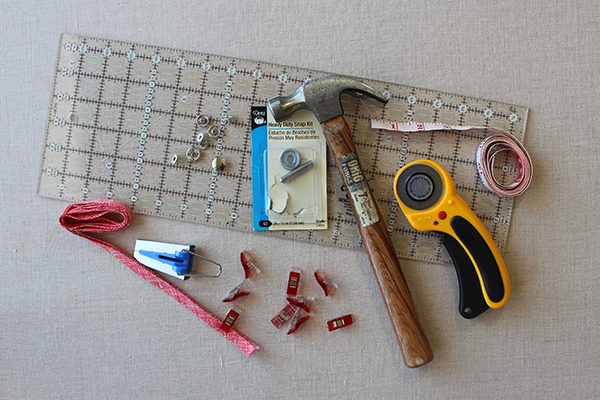
Materials Needed:
- Clear vinyl
- Fabric to make bias tape or store bought bias tape
- Clover bias tape maker – optional
- Dritz – Heavy duty snap tool kit and heavy duty snaps
- Clover Wonder Clips
- Sewing machine and supplies
- Iron and ironing board
- Something circular as round corner template
- Pen and paper
- Elmer’s gluestick – optional
A couple of things before we get started:
- Bias tape – If you plan to make your own bias tape – click here for my bias tape tutorial. Never tried making bags tape..? Give it a go, it’s easy to do! Plus a bold, colorful bias tape makes your projects much prettier.
- Vinyl – I used 16 gauge clear vinyl for this project. Cut the vinyl into a 8 1/2″ x 11″ rectangle [ letter size piece of paper ] and round off 2 corners at one of the short ends. Tip – trace the corners onto a piece of paper and keep as a curve template later on.
Ok. Let’s get sewing:
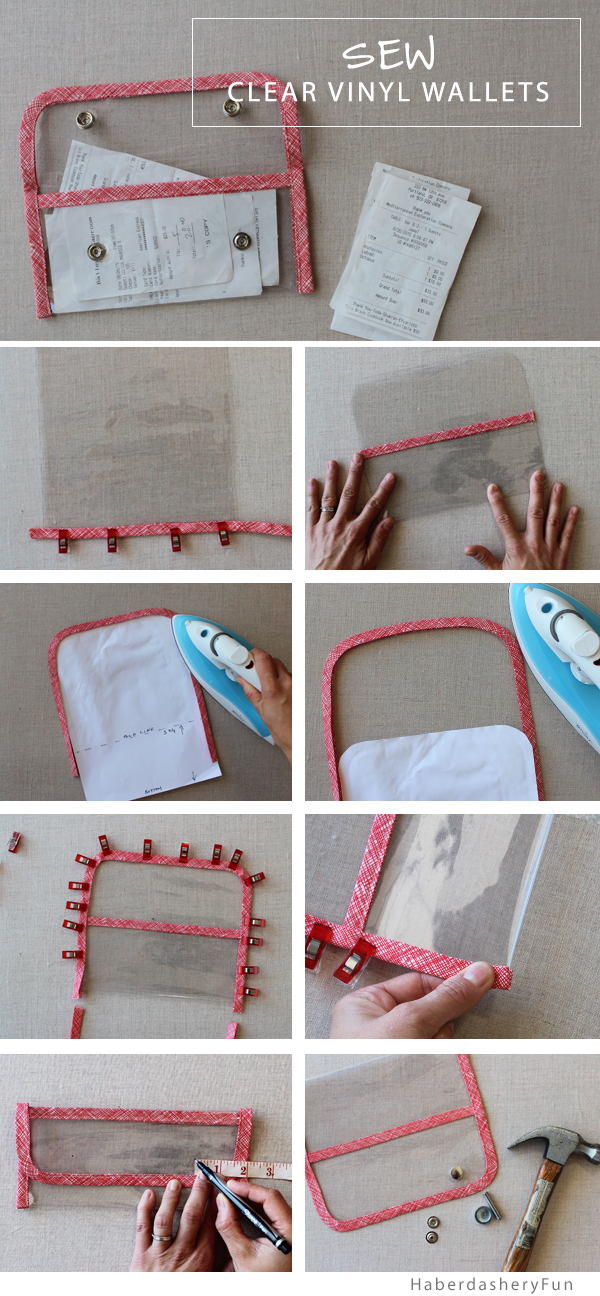
- Lay the vinyl rectangle on your work surface. Open the bias tape and lay the vinyl inside. The edge of the vinyl should butt up against the fold of the bias tape. Make sure that you are inserting the non-rounded corner end.. Fold to cover the raw edge of the vinyl. Use wonder clips to hold in place and/or use a small dab of glue stick along the vinyl edge. Place into your sewing machine and stitch down. Trim the bias tape off at each end.
- Place the vinyl piece back onto your work surface, bias tape along the bottom. Turn and fold upwards 3 3/4″. Finger press a fold into the vinyl. Tip – Place into your sewing machine and make little stitches at the top and bottom of the pocket, but within the seam allowance. This will helps hold the vinyl in place.
- Place the paper template onto your work surface. Lay the bias tape around the outside edge, leave a small tail at each end. Iron the bias tape and gently pull/press a curve into the 2 top corners.
- Gently pull the bias tape from the vinyl.
- Now place the bias tape around the outside edge of the vinyl. Feel with your fingers and make sure that the vinyl edge butts up against the folded edge of the bias tape. if you are having a hard time holding the bias tape in place, use small dabs of glue along the vinyl edge. Hold the bias tape in place with wonder clips.
- Pinch and fold the bottom 1/2 tail under to hide the raw edge. Place into your sewing machine and stitch down. Backstitch at each end.
- On the outside front flap, measure inwards about 2″ and upwards about 1 1/4″. Use a pen and make a small mark for the “front” snap placement. Create a little hole. Repeat for the other side. Place the flap back down onto the pouch and finger press flat. Use a pen and trace the hole to mark the “back” snap placement. Repeat for the other side. You are now ready to add the snaps.
- Read the directions on the Tool kit and snaps. Use a small hammer and add the “front” snaps to the flap. Add the “back” snaps to the top of the pouch.
Quick tip – is the wallet a little bulky? To make your pouch lay flat, place it under a stack of heavy books for a few hours. The pressure of the books will help press a fold into the vinyl.
Just think of all the uses for these pouches – coupons, business cards, small documents… I made one pouch that was slightly larger and also a mini one. The template for the credit card pouch measures 9″ x 5 1/2″ and simply add a small a small swivel clip to one side. If you plan to sew a mini wallet and have any questions – let me know.
Happy Sewing!
